Your cart is currently empty!
Homemade Stamping Ink: Create Your Own with Glycerin, Food Coloring, and a Sponge!
Homemade Stamping Ink: Create Your Own with Glycerin, Food Coloring, and a Sponge! In the world of wellness through art, creating your own materials can be a rewarding and relaxing experience. One delightful project to try is making homemade stamping ink! With simple ingredients like glycerin, food coloring, and a sponge, you can blend your…
Homemade Stamping Ink: Create Your Own with Glycerin, Food Coloring, and a Sponge!
In the world of wellness through art, creating your own materials can be a rewarding and relaxing experience. One delightful project to try is making homemade stamping ink! With simple ingredients like glycerin, food coloring, and a sponge, you can blend your creativity with your passion for health and sustainability. This guide will walk you through everything you need to know about crafting your own vibrant stamping ink.
Why Make Your Own Stamping Ink?
Creating homemade stamping ink is not only a fun and artful project, but it also allows you to be mindful about the ingredients you use. Many store-bought inks contain chemicals that aren’t very eco-friendly or gentle on your skin. By making your own, you can ensure that your materials are safe, sustainable, and unique to your artistic flair.
Benefits of Using Glycerin
**Glycerin**, a clear, odorless liquid derived from plant oils or animal fats, is a fantastic base for stamping ink. Here’s why:
- Moisturizing Properties: Glycerin has natural moisturizing properties which can hydrate your skin during your creative process.
- Non-Toxic: It’s safe for most skin types, making it ideal for both children and adults to use.
- Extends Shelf Life: Glycerin helps prevent the ink from drying out quickly, allowing you to store it for longer periods.
- Blending Capability: Its viscous nature makes it easy to mix with food coloring and achieve a smooth, consistent texture.
The Role of Food Coloring in Your Stamping Ink
Using **food coloring** is a clever way to add vibrant hues to your homemade stamping ink. Here’s what you need to know:
- Easy to Use: Food coloring is straightforward to mix, and it comes in a variety of shades. You can experiment with different combinations to create your unique colors.
- Safe and Non-Toxic: As a dye made for edible substances, food coloring is generally safe for arts and crafts, making it a great choice for your projects.
- Adjustable Color Intensity: You can choose how deep or light you want your color; adding more drops will deepen the shade!
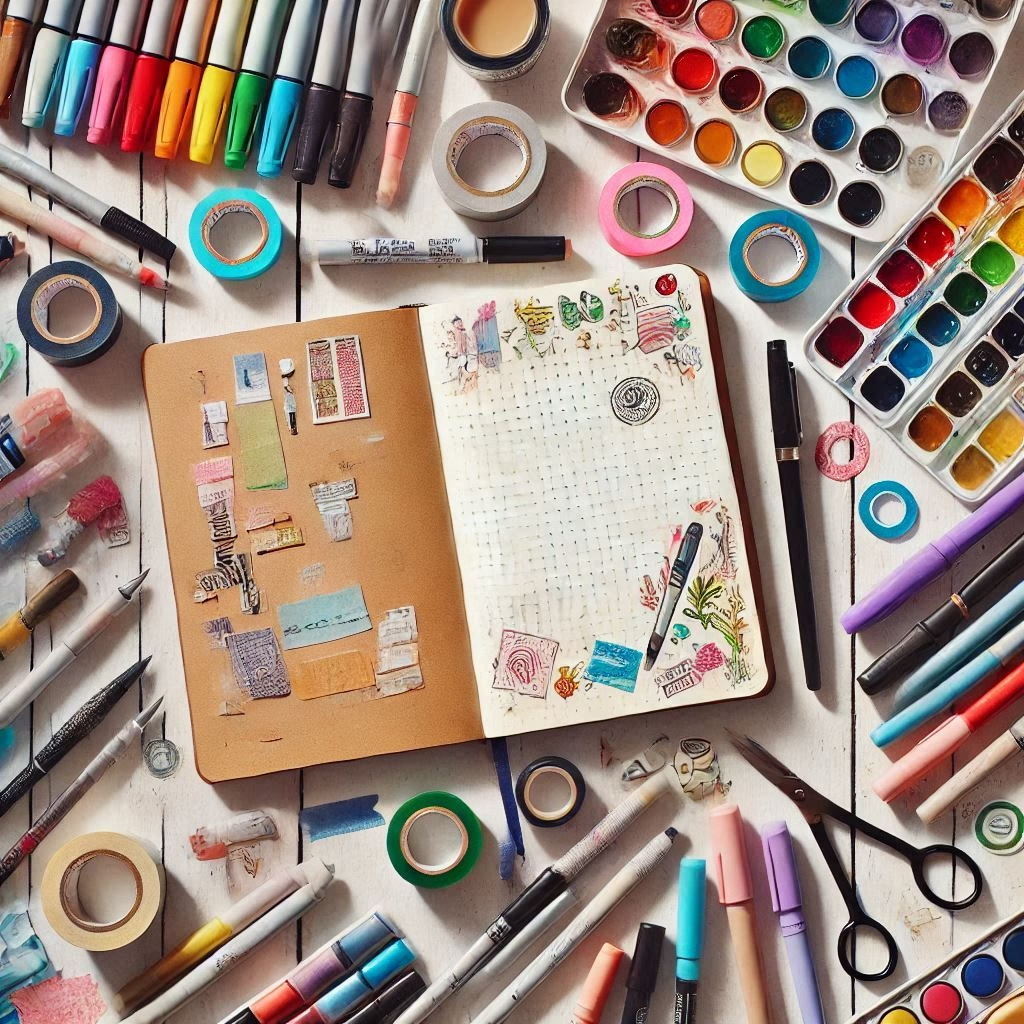
Essential Materials You’ll Need
Before diving into the making process, gather the following materials:
– **Glycerin:** This will be your base.
– **Food coloring:** Choose your favorite colors or a variety for multi-colored stamping.
– **Sponge:** A clean sponge will serve as an application tool.
– **Shallow container:** To mix and hold your ink.
– **Measuring spoons:** For accurate mixing.
– **Stirring stick:** To blend your materials smoothly.
Let’s Get Creative: Making Your Homemade Stamping Ink
Making your stamping ink is incredibly easy and can be done in just a few steps. Let’s get started!
Step 1: Measure Your Glycerin
Use a measuring spoon to pour about two tablespoons of glycerin into your shallow container. This will be the base of your ink and will help achieve the right consistency.
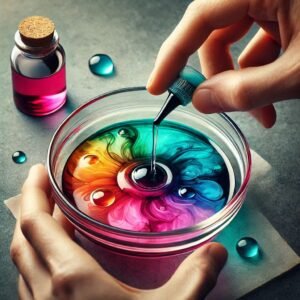
Step 2: Add Food Coloring
Next, add a few drops of food coloring to the glycerin. Start with one or two drops and mix, gradually increasing until you reach your desired color intensity. Remember that you can always add more, but it’s difficult to take some away!
Step 3: Mix Thoroughly
Using your stirring stick, mix the glycerin and food coloring until the color is uniform throughout the mixture. The blending process should only take a minute or two, depending on how deep you want the color to be.
Step 4: Transfer to Sponge
Take your clean sponge and pour the ink mixture onto it, ensuring that the sponge is adequately saturated but not dripping wet. The sponge will be your stamping tool, so you want it moistened just right for even application.
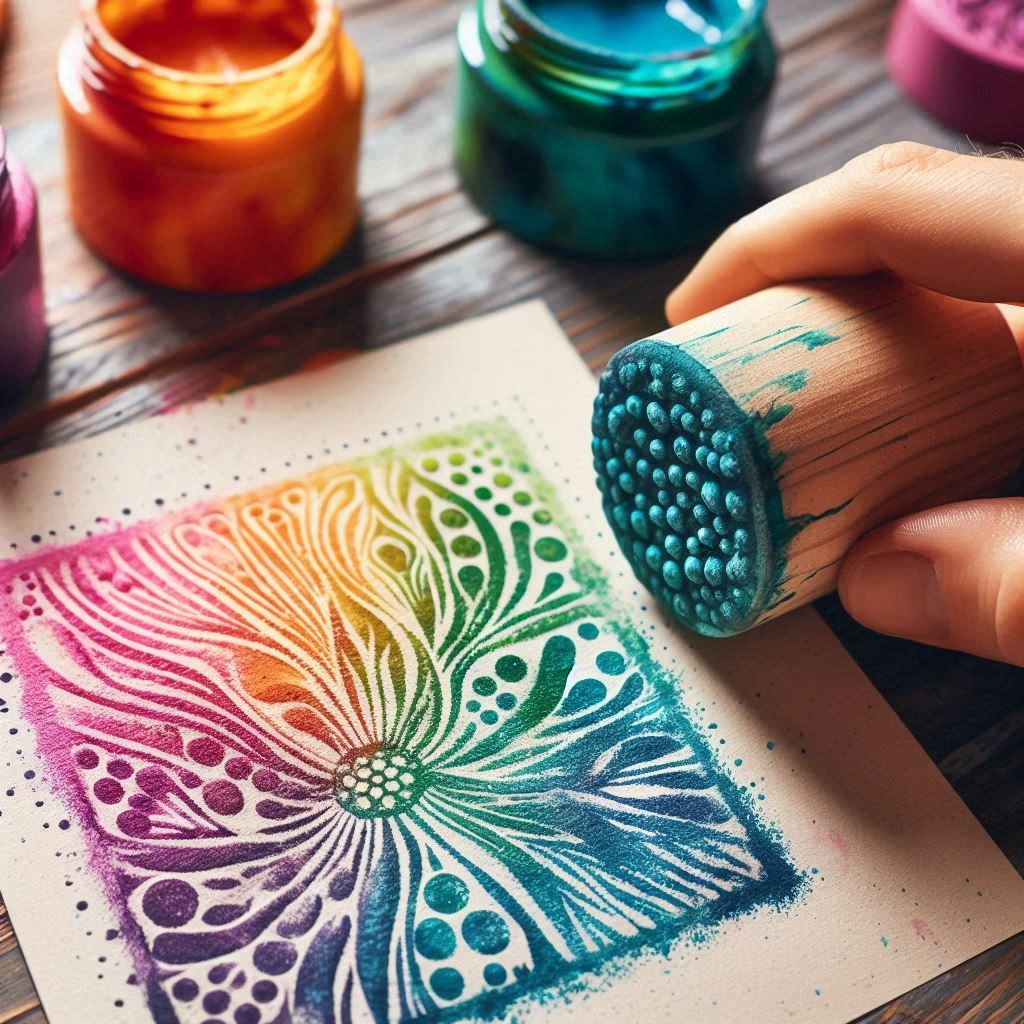
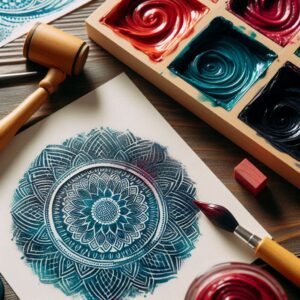
Step 5: Stamp Away!
Now it’s time to get creative! Press your sponge onto a variety of surfaces—paper, fabric, or even canvas—to showcase your vibrant, handmade ink. Experiment with different textures, patterns, and layering techniques to create stunning art pieces.
Tips for Using Your Homemade Stamping Ink
To maximize your stamping experience, here are some helpful tips:
1. Test on Scrap Material
Before committing to your final piece, always test your stamping method on scrap material to see how it looks. This will give you an idea of how the ink behaves on different surfaces.
2. Cleanup Any Messes
Always keep some damp cloths or paper towels nearby to clean up any spills or unwanted ink marks immediately.
3. Store Your Ink Effectively
If you have leftover ink, you can store it in a sealed container or an airtight jar. This will preserve its quality and keep it ready for your next art project.
4. Experiment with Textures
Change up the textures you stamp on! Try different surfaces like cardboard, canvas, or even leaves to create various effects and styles.
Enhancing Your Stamping Projects
Once you’ve mastered the basics of making and using your homemade stamping ink, why not elevate your art further? Consider the following enhancements:
- Layering: Use multiple colors to create layered effects. Stamp in sequence, allowing each layer to dry slightly before applying the next.
- Incorporate Stencils: Use stencils for precision and to create intricate designs. Lay the stencil on your material before stamping for a polished look.
- Explore Mixed Media: Combine your stamping techniques with other art forms like painting, sketching, or collage to make a mixed media piece.
- Add Glitter or Embellishments: Once your ink has dried, sprinkle glitter or attach small beads to enhance your artwork further.
The Therapeutic Benefits of Crafting
Engaging in creative projects like making your own stamping ink offers various wellness benefits:
- Stress Relief: Art has the power to reduce anxiety and promote relaxation. Focusing on creating can divert your mind from daily stressors.
- Boosted Self-Expression: Homemade projects provide a canvas for self-expression, allowing you to share your personality and emotions through art.
- Mindfulness: Being present in the moment while crafting can enhance your mindfulness practice, helping you connect with your thoughts and feelings.
- Sense of Accomplishment: Completing a project, no matter how small, provides a sense of satisfaction and accomplishment.
Conclusion: Your Artistic Adventure Awaits!
With the simple tools of **glycerin**, **food coloring**, and a sponge, you now have the knowledge to create your own homemade stamping ink. This project not only allows you to explore your creativity but also enhances your wellness through art. Dive into the world of handmade crafts and discover how enriching this experience can be.
So grab your materials and start experimenting today! Whether you’re creating art for yourself or gifts for friends, your journey into the art of homemade stamping ink is just the beginning. Happy stamping!